
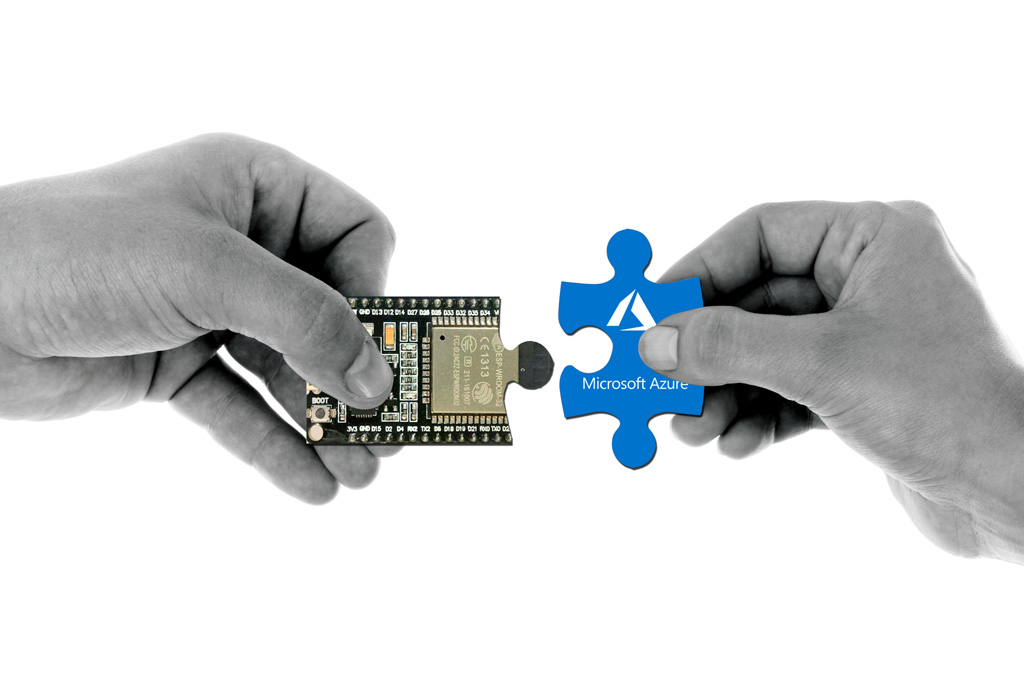
In the last few years all big IT companies have discovered the Internet-of-Things field in one way or the other. Apple and Google have offerings for home automation, Google, Amazon and Microsoft offer services to connect IoT devices to the cloud. For one of our projects we wanted to take a look at Microsofts Azure IoT Hub solution. Microsoft offers comprehensive libraries to connect the ESP8266 to the Azure cloud. But what about the ESP32? In this post we’ll describe how to create a shared access token for the Azure cloud. We’ll further cover how to use this token to send a minimalistic request with the ESP32 to the Azure IoT hub.
If you would like to connect the ESP32 to the Azure IoT cloud you are currently on tougher ground as with the ESP8266. Microsoft so far only supports the ESP8266 and their library doesn’t compile out of the box on the Arduino/ ESP32 platform. There are some alternatives: you can try to use the port from M5Stack. Alternatively you switch directly to Espressif’s IDF-SDK and use the sample code from here.
REST to the Rescue
But don’t worry, there are also easier options. In order to run a simple test we don’t need the Azure library at all. If you strip away some features it all boils down to sending a simple POST request over https with a special security token in the header and this we can do “on foot” without the help of a chunky library. There is one disadvantage of this method though: the security token will only be valid for a given time. Once the token expires we will have to store a new token on the device. This might not be the best idea depending on your use case. Microsoft’s library provides a mechanism to renew this token automatically once it expires. But now lets start with our simple use case.
Setup Azure IoT Hub
As the first step we have to setup an account on Microsoft’s cloud computing platform Azure. Microsoft offers a free tier account so you don’t even have to open your wallet to get started! I followed this guide for the ESP8266 to setup my Azure account up to the chapter called “Register a device in the IoT hub for your device”. This will give you the following resources:
- A configured IoT Hub (in our example called “thingpulse”)
- A connection String for the IoT Hub administrator (that looks like “SharedAccessSignature sr=thingpulse.azure-devices.net…”)
- A name for the device (e.g. device1)
The IoTHub-Explorer CLI Tool
As mentioned earlier we now need to create a shared access security (SAS) token to proof to the Azure cloud that we are who we claim to be. When I first started to get this code running I tried to create the SAS token with a PHP script I found in Microsoft’s documentation. But this never worked. Many tutorials point to a tool written in C# which probably would not run on my Mac. So after almost giving up I found a npm package called iothub-explorer. Assuming you already have npm installed you can install the tool with
npm install -g iothub-explorer
Now we need to create the SAS token for our device. To do this run
iothub-explorer sas-token device1 --login "IOTHUB CONNECTION STRING"
where the part in capital letters is the connection string you get on the Azure web application. This will create a SAS token we’ll use soon to authenticate the device against the Azure cloud. The IoTHub Explorer is a real Swiss Army Knife of features. We’ll later use the tool again to monitor messages sent to the cloud.
Setting up the ESP32
Now let’s write the code to send a simple request from the ESP32! We’ll send the request over a encrypted SSL connection. In order to know that we are talking to the correct server we’ll need to provide a server certificate. The certificate of our iot hub URL might be too short lived so we will take the certificate of the root certificate authority. By issuing this command we can get the whole certificate chain:
openssl s_client -showcerts -connect thingpulse.azure-devices.net:443
This produces a lot of text in your console. We want to get the parts that look like this:
-----BEGIN CERTIFICATE-----
MIIG9zCCBN+gAwIBAgITewAAAlKxca2x2OFj0gAAAAACUjANBgkqhkiG9w0BAQsF
[...]
G7BVqWVt3j+/HTM=
-----END CERTIFICATE-----
We will take the last certificate. You won’t have to change this in the final code below since all the iothub certificates are signed by the same root CA. I’m just explaining this step here for completeness. Now you’ll also have to set the variables to your setup:
- IOT_HUB_NAME: the name of the IoT hub you created earlier
- DEVICE_NAME: the name of the IoT device you created in the Azure setup step
- SAS_TOKEN: the SAS token you created earlier with the iothub-explorer CLI tool
- And your WiFi credentials
Here is the complete code:
Now flash this code to your ESP32 and let the magic happen!
Monitoring the messages
Ok, I admit. Once the code compiles and is flashed there is not so much magic happening. If you see a 204 message in the console then everything worked out fine. But now let’s see if your messages arrive on the Azure cloud! In the command line enter:
iothub-explorer monitor-events device1 --login "YOUR IOT HUB CONNECTION STRING"
You should see something like:
Monitoring events from device device1...
==== From: 'device1' at '2018-05-03T09:13:23.008Z' ====
{temperature: 24.5}
---- application properties ----
{}
If you do: well done! You just sent your first messages from the ESP32 to the Azure cloud!
Summary
In this post we explained how you can send messages to Microsoft’s Azure IoT cloud without using any of the bulky (and not yet ported) libraries from a ESP32. We do this by creating a SAS token with a command line tool. This token will only be accepted for a certain amount of time after which you’ll have to create a new one. If that is not convenient you’ll have to write a method that can create the SAS token on the device once the last one has expired or use the official libraries once they are ported to the ESP32/Arduino platform.

I have tried duplicating your steps and do get the “204” messages on the serial output of the ESP32. I don’t seem to get the messages in Azure as “Device Explorer” and running “iothub-explorer monitor-events” doesn’t output anything. I do get
I also get messages about these commands being deprecated and I wonder if this method no longer works.
C:\Users\user>iothub-explorer monitor-events ChirpCam –login “HostName=…”
——–
DEPRECATION NOTICE: iothub-explorer will be retired on November 31st, 2018
It has been replaced by the Azure CLI IoT Extension (https://aka.ms/iotcli).
——–
The equivalent command in the Azure CLI is: az iot hub monitor-events
——–
Monitoring events from device ChirpCam…
Azure doesn’t seem to support anything but MQTT messages from the ESP family. This would be a great workaround to that if it’s still viable.
have you implemented posting an image to blob using iot hub?