Description
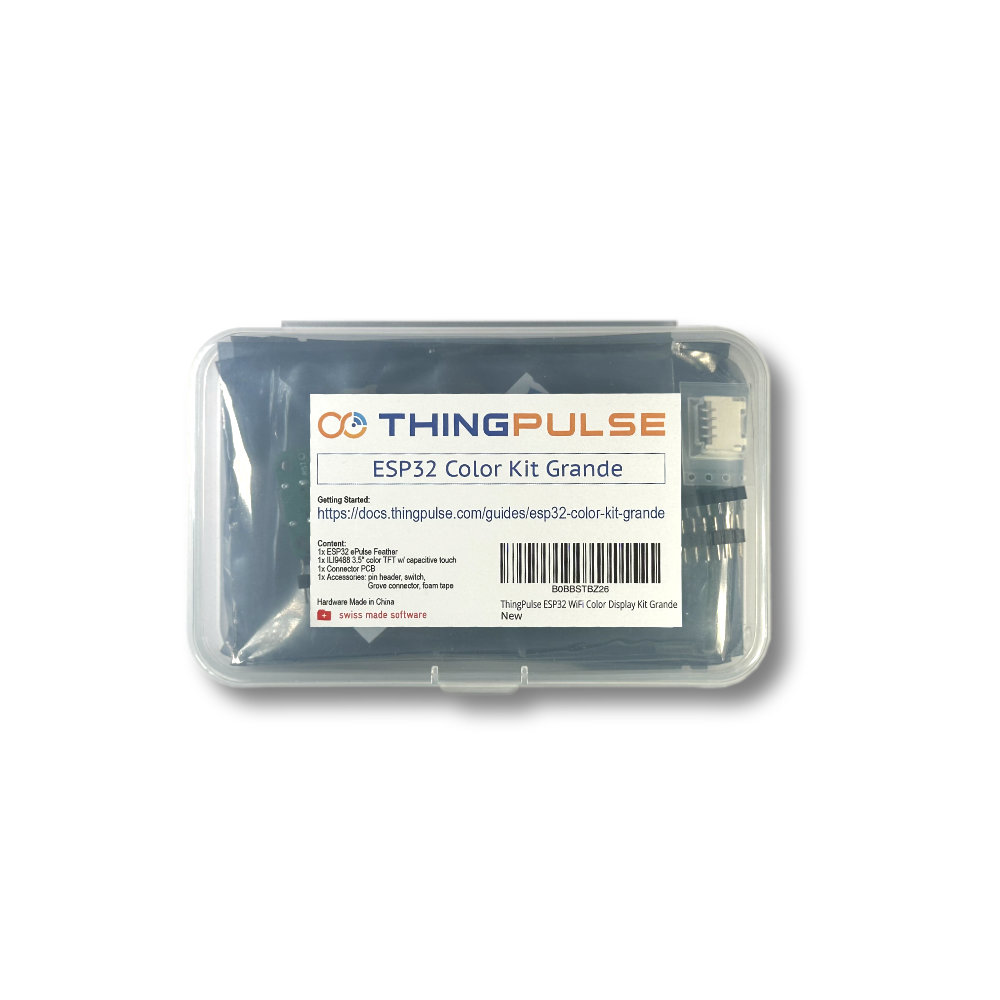
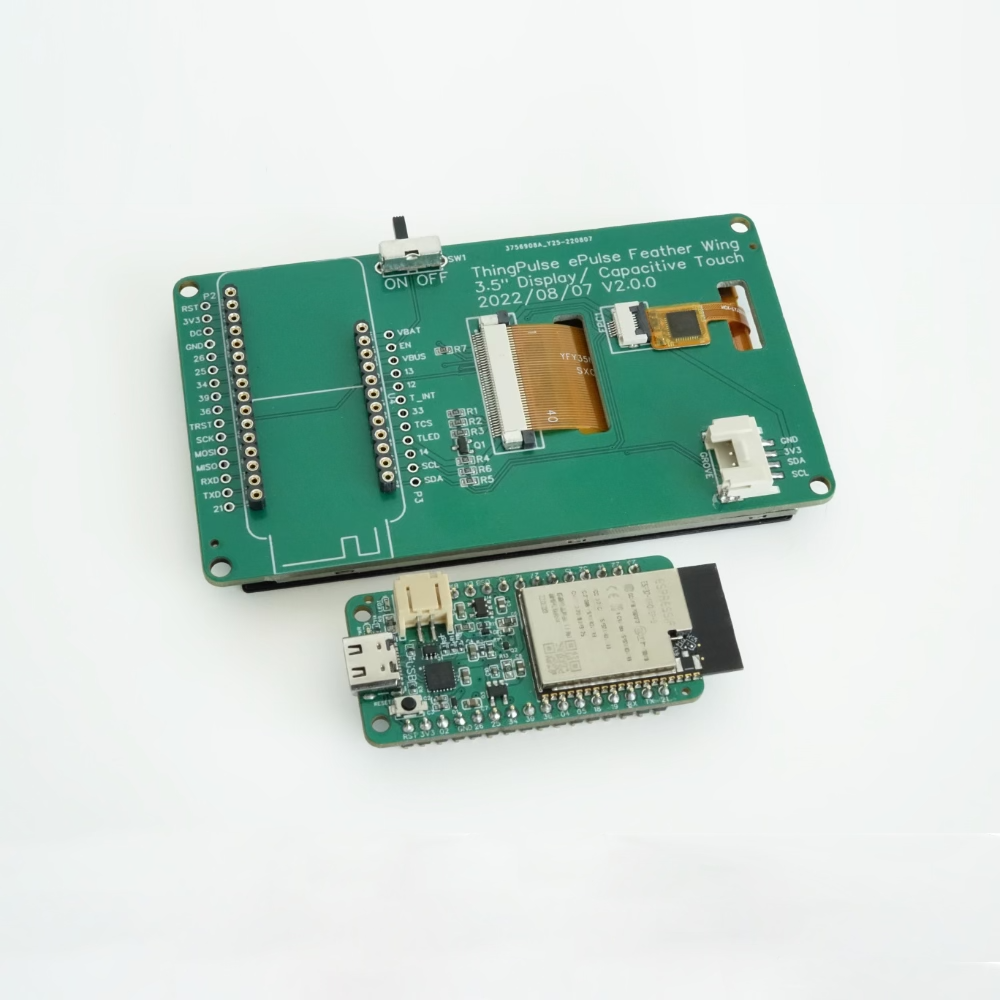
The ThingPulse Color Kit Grande is a modern IoT starter kit with extensibility built in. It contains the following items.
- 1x ePulse Feather, our low-power ESP32 development board
- 1x 3.5″ 320×480 Color Display (ILI9488, TFT) with capacitive touch interface (FT6236)
- 1x custom connector PCB to connect the ESP32 and the display
- 1x set of special pin headers, to be soldered to connector PCB
- 1x on-off switch, to be optionally soldered to connector PCB
- 1x Grove connector, to be optionally soldered to connector PCB
- 4x double-sided foam adhesive to secure display to PCB
- USB-C cable NOT included
Please note: soldering is required for this kit!
A step-by-step tutorial/guide for hardware incl. soldering and software is available on our documentation platform. It documents the steps shown in the below assembly video.
If you want to 3D-print a case for the Color Kit Grande the below model might serve as an inspiration. The STL files are available for download.

Hardware
Microcontroller
As this kit ships with our ePulse Feather ESP32 development board, the kit thereby inherits all the great features of said devkit.
Display
The large 3.5″ 320×480 color display also sports a high-precision capacitive touch interface. Contrary to resistive touch interfaces that often work best when using a stylus this auto-calibrated module offers a smartphone-like user experience.
Connector PCB
This is a DIY solder kit. Yet, the connectors for the display are already pre-assembled on the connector PCB, as those require a more experienced hand at the soldering iron. Hence, for the inexperienced solderer this offers the best of both worlds. Also, you may choose to not add the on-off switch or the Grove connector; both are optional.
The connector PCB offers extendability in two ways: the broken out pins of the microcontroller and the connector for the Grove system.
Color Kit Grande Projects
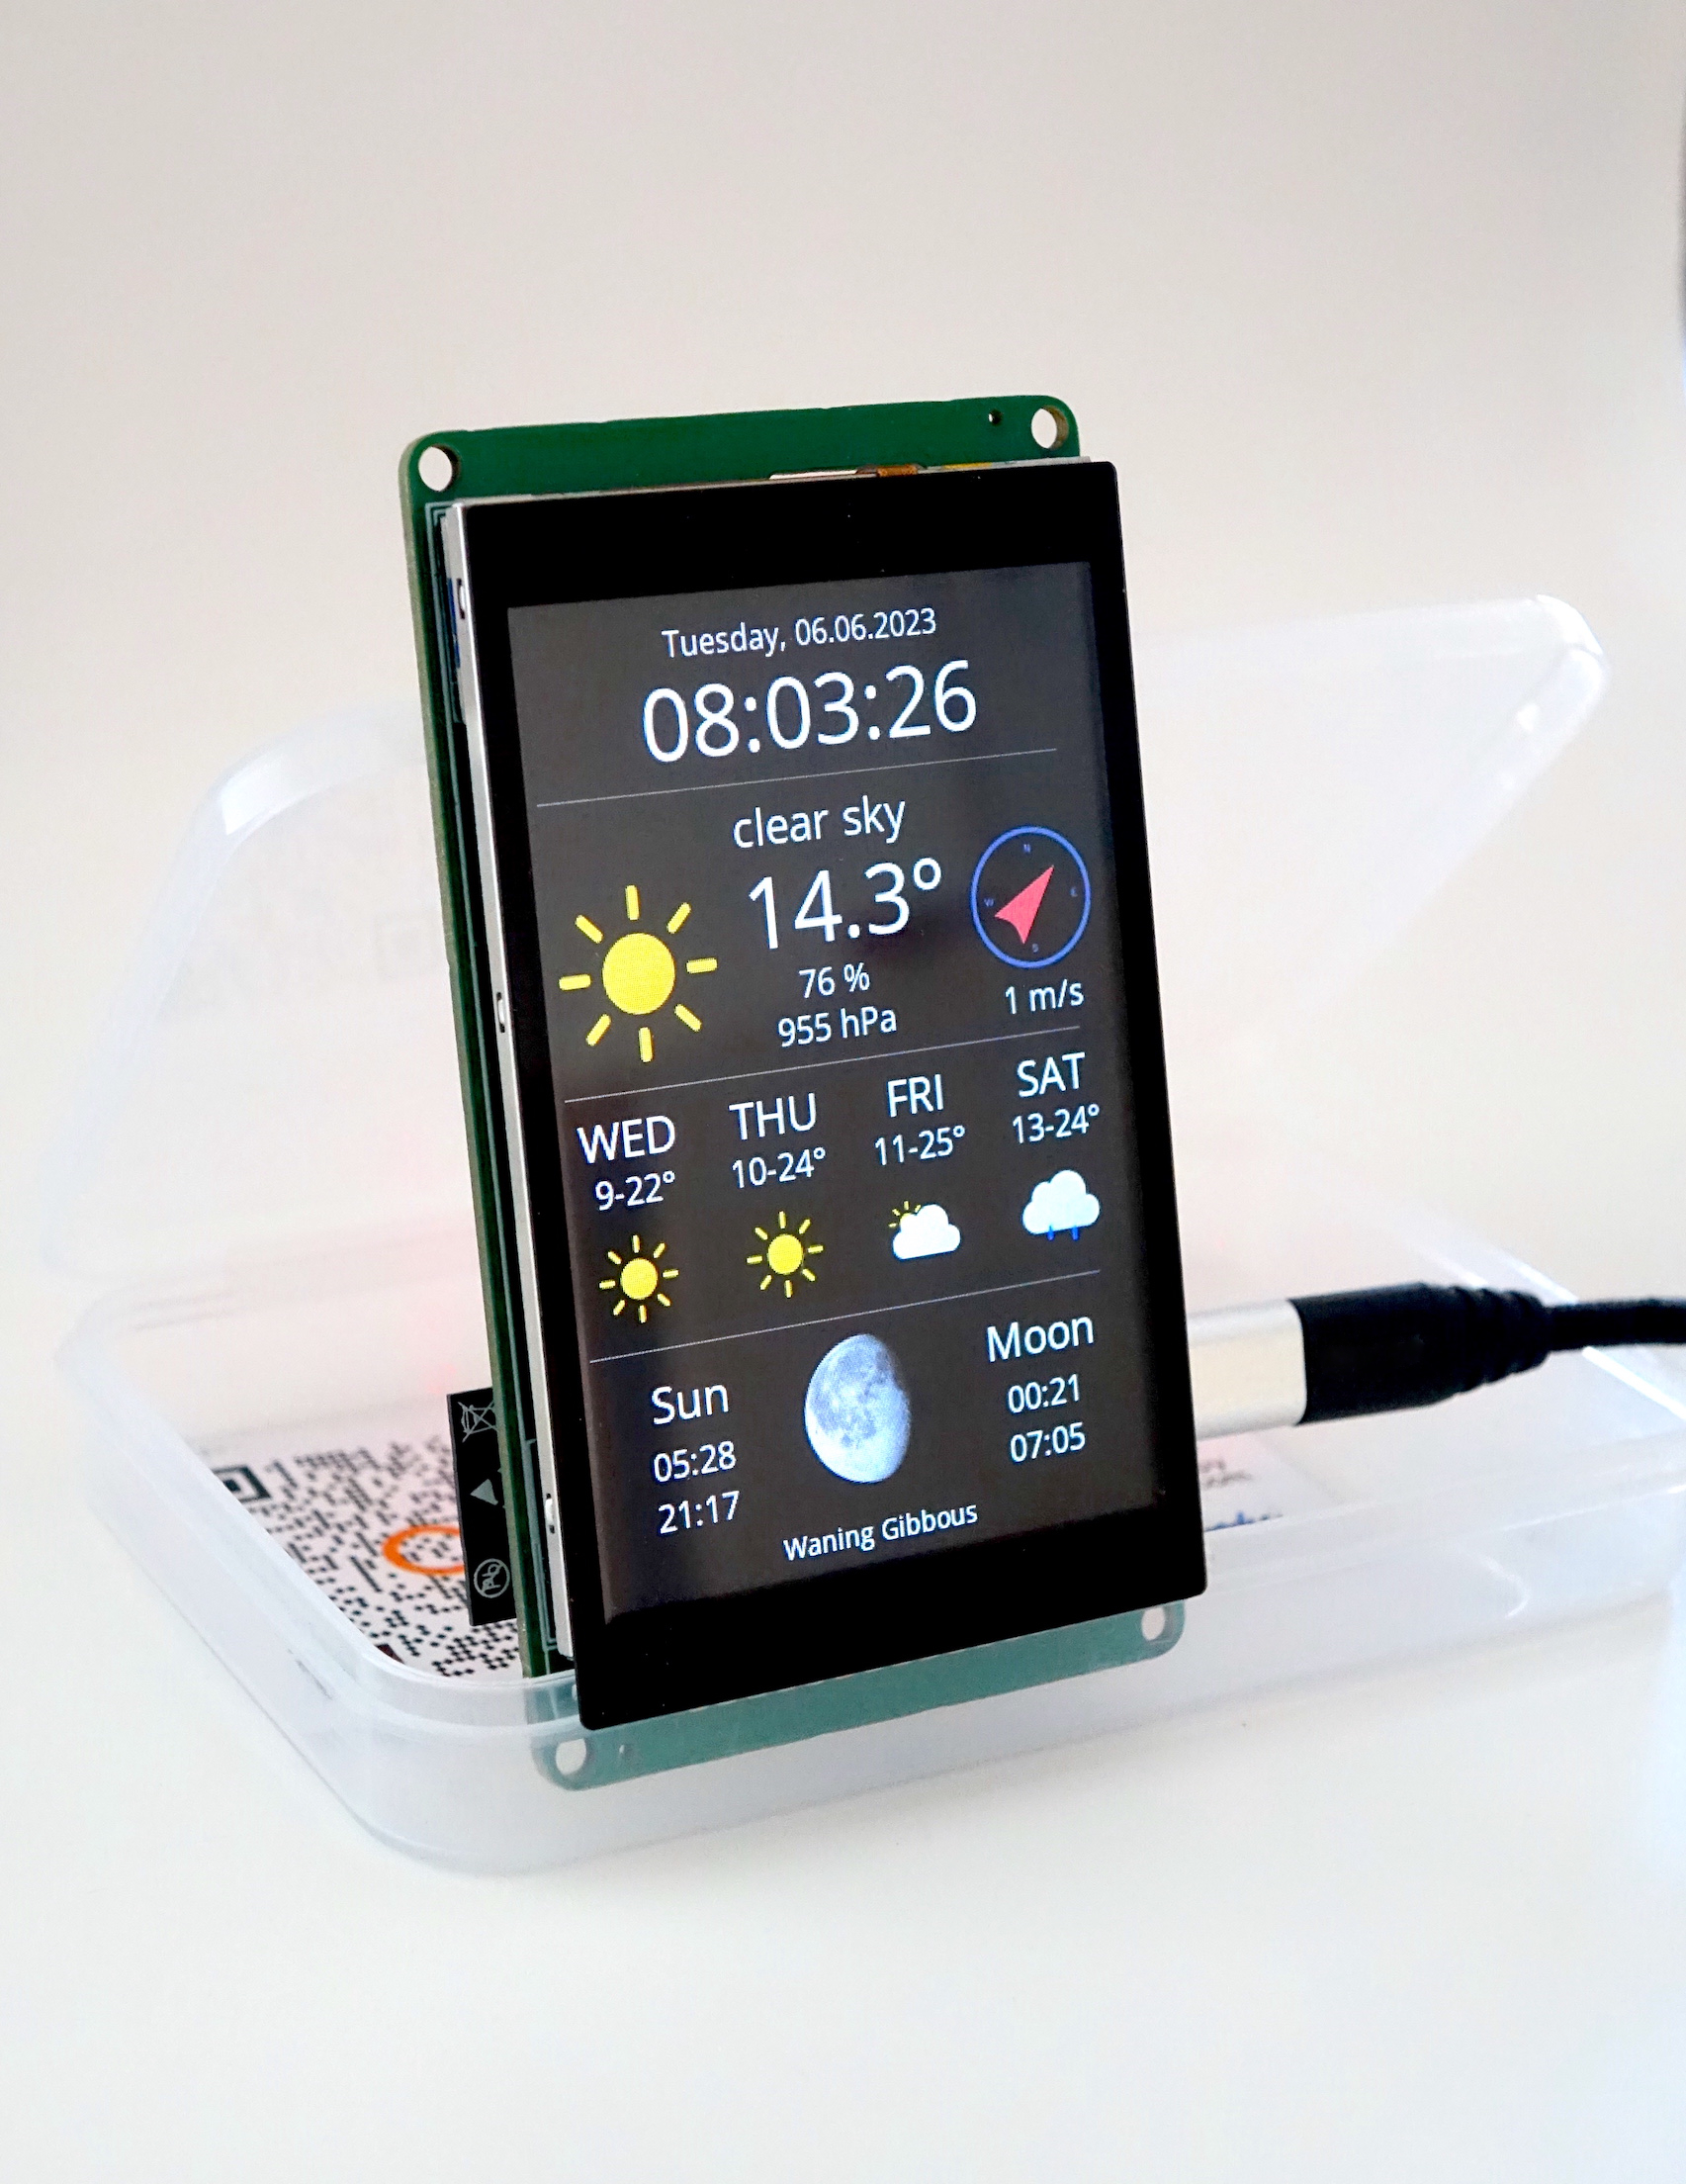
Our sample application (shown in the product images) is built on top of Bodmer’s TFT_eSPI library and a separate library for the FT6236 touch controller. The tutorial documents how to install and configure it. We also ported an LVGL sample application to this platform got give you a head-start if you want to work with LVGL (which is awesome!).
Furthermore, the hardware in this kit is compatible with the FreeTouchDeck project and the examples of the ESP32 TouchDown project. Please see our documentation for how to change pin assignments if you would like to use one of those sketches.


James (verified owner) –
Got my kit in today. All parts included, went very smoothly.
To be honest I was totally expecting the code not to compile. I followed each step and everything code & instructions was up to date. Compiled with no issues, flashed the board per the instructions and she came right up.
It’s rare nowadays to buy something like this that there are no issues.
Great job guys!!!
David (verified owner) –
Very easy to build with my new $9 soldering iron 😅
This is the project you want if you are looking for a beautiful IOT device that will turn heads at your desk. Just go slow when building and have fun. Wonderful weekend project.
Thanks to the developers for such quick response and solution to bug I found in 12vs24h time format!
Michael (verified owner) –
Very nice kit! Superb support!
I ordered two of them, just, you know, because. Sadly after assembling the first kit I discovered that the LCD was broken. I tried the second display to exclude any problems on the PCB and it worked. So the display was sadly toast.
I have to admit that I might have broken the display, when pushing it onto the double sided sticky pads, but I was careful. Since I didn’t test the display before mounting it, I simply don’t know. Removing it from the sticky pads was not looking nice either.
Anyways I contacted Thingpulse and they are sending a replacement!! How great is that?
I want to thank them here again!
So my advice is to test before mounting and be really gentle when putting the display on the PCB.
Ray Berkelmans (verified owner) –
The guys at ThingPulse have been making weather displays for many years now and the ESP32 Wi-Fi Color Display Kit Grande takes it to the next level – what an impressive kit! The 3.5″ TFT display is so much more visible and easy to read compared to the 2.4″ screen of the ESP8266 version (of which I have several!). Unlike the ESP8266 version, the ESP32 version does not have multiple screens to scroll through. That said, I mostly used my older versions as static displays anyway and scrolling through the screens only happened in the first few days. The software is honed to a tee and a masterclass in coding. The VS Code IDE for uploading the firmware can be a bit overwhelming for those who have only ever experienced the Arduino IDE before. But, don’t be put off. If I managed, you can too. Congrats to Dani and Marcel, well done guys!
Luc (verified owner) –
It’s easy – my biggest struggle was the error code ‘failed to write to target RAM’! Thanks to the ‘How To Install Drivers for WCH CH9102F USB to Serial Chips’ by adafruit, I could resolve soft-issues without doubt on my doubtful soldering skills. The Grande works now like a charm;-)
Marcel Stör (verified owner) –
Thanks for the feedback Luc, much appreciated! We are glad you like the kit. Also, thanks for the hint regarding the driver(s). We can easily add a note to our documentation and link to the Adafruit instructions.
Jason (verified owner) –
Would like to 3d print a case while I wait for this to arrive but I’m not able to download the files from the Fusion360 link shown above – any idea where I can find these?
Marcel Stör (verified owner) –
Thanks for the feedback. We added download links for STL and STEP above the embedded Fusion360 model. We hope that once you receive kit and start working with it you will consider upgrading your rating 🙂 Even if not, we are looking forward to feedback how to improve it, thanks.
Gareth (verified owner) –
I bought this kit after trying the tiny little version. Its top quality stuff and the comprehensive build instructions got me there once I had read them through several times. The customer support either via the FAQ (worth a browse before you email….) or by direct email is first class and patient with people who ‘should have read the instructions and the FAQ first…. 😉
The supplied .stl file for the case prints well and fits the display perfectly, making it a really nice addition to you desktop or shelf. For the functionality, quality and support this project is a bargain 🙂
Atze –
Bought this kit after trying to assemble an ili9341 with an esp8266 – but failed. The “kit grande” arrived and what should I say. Very good stuff well protected and from high quality. After some problems with the ribbon connector (my fault) and a hint from their support what to do, it now works brilliant. I had no experience with PlattformIO so far but the comprehensive build instruction finally got me to the target. After I got the “kit grande” up and running I tried the ili9341/eps8266 again. Even I haven’t bought it via the ThingPulse shop I received a full support and could finally get the small kit up and running as well. Thanks a lot for your your help – well done guys.
stockers99 (verified owner) –
Excellent product, good documentation & excellent customer support – 10 out of 10.
Will now buy the enclosure, which I believe is just about to go on sale.
Thanks for your help.
Mark Ennamorato (verified owner) –
Got my kit the other day and woke up early to put it together – super easy. Good instructions. Built the image and bam.. working *except* no .bmp images (others ran into this..just read the instructions dude!) and make sure no other serial process is using the serial port when you load the whole Filesytem Image. This is a *very cool* gadget for the price !!! Now I will start building something I wanted to do with it. Also very responsive support and really appreciate that because not usual these days!